How to Do Crème Brûlée with Torch? Crème brûlée is a classic dessert loved for its creamy custard base and crispy caramelized top. It’s a delight to prepare at home, especially if you’ve got a culinary torch handy! In this guide, we’ll cover every step you need to make the perfect crème brûlée, from crafting the custard to achieving that irresistible golden crust. Whether you’re a beginner or looking to refine your technique, you’ll discover all the tools, tips, and tricks to master this dessert.
Understanding Crème Brûlée
What is Crème Brûlée?
Crème brûlée, which translates to “burnt cream” in French, is a decadent dessert composed of a silky custard base topped with a layer of caramelized sugar. Its origins date back centuries, with mentions in 17th-century European cookbooks. Today, it remains a staple on dessert menus worldwide.
The custard itself is made from simple ingredients—cream, egg yolks, sugar, and vanilla—but its texture and flavor embody sophistication. When you crack through the caramelized sugar top with a spoon, the creamy custard beneath creates a perfect contrast, offering a unique culinary experience.
Why Use a Torch for Crème Brûlée?
Using a torch to caramelize the sugar is, quite frankly, a game-changer. Unlike a broiler, a culinary torch offers precision and control, ensuring the sugar melts and browns evenly without overheating the custard below.
- Even caramelization: A torch distributes heat evenly across the sugar layer, avoiding burnt patches.
- Quick results: It melts sugar almost instantly, preventing the custard from overcooking.
- Professional finish: A torch adds that authentic crackling caramel top you’ll find in upscale restaurants.
For anyone serious about desserts, investing in a butane torch is worth it. From achieving golden caramel to adding intricate finishing touches, this tool makes dessert preparation more efficient and enjoyable.
Tools and Ingredients
Essential Tools for Making Crème Brûlée
To make the perfect crème brûlée, you don’t need a ton of fancy gadgets, but a few specific tools will ensure success. Here’s what you’ll need:
- Culinary Torch: A butane or propane torch is ideal for caramelizing the sugar. Make sure to choose a torch with adjustable flame settings for better control.
- Ramekins: These small, shallow dishes are crucial for evenly cooking the custard and achieving the ideal serving size.
- Mixing Bowls: A set of heatproof bowls will help you whisk ingredients safely, especially when incorporating warm cream.
- Whisk: A sturdy whisk ensures the custard mixture is smooth and lump-free.
- Baking Tray: Use a tray with raised edges to hold the ramekins during the water bath process.
- Fine-Mesh Strainer: This helps remove any clumps from the custard mixture for a creamy texture.
Key Ingredients for Perfect Crème Brûlée
Great desserts rely on high-quality ingredients, and crème brûlée is no exception. Each component plays an essential role in the flavor and texture:
- Heavy Cream: Use full-fat cream for a rich, velvety custard.
- Egg Yolks: Provide structure and richness; only yolks are used, not whole eggs.
- Granulated Sugar: Needed for both the custard mixture and the caramelized top.
- Vanilla Bean or Extract: Vanilla is the classic flavor, but you can infuse other flavors (like citrus or coffee) if desired.
- Optional Flavor Enhancers: A touch of sea salt or a pinch of nutmeg can add depth.
Ingredient Substitutions and Variations
If you have dietary restrictions or want to experiment, here are some ideas:
- Non-Dairy Options: Substitute heavy cream with coconut cream for a dairy-free version.
- Low-Sugar Version: Use a sugar substitute such as erythritol for the custard and caramel layer.
- Infusions: Add zest from oranges or lemons, or steep herbs like lavender in the cream for unique flavors.
Preparing the Base
Step 1: Making the Custard
Crafting the custard is the most crucial step in creating crème brûlée. Here’s how to do it with precision:
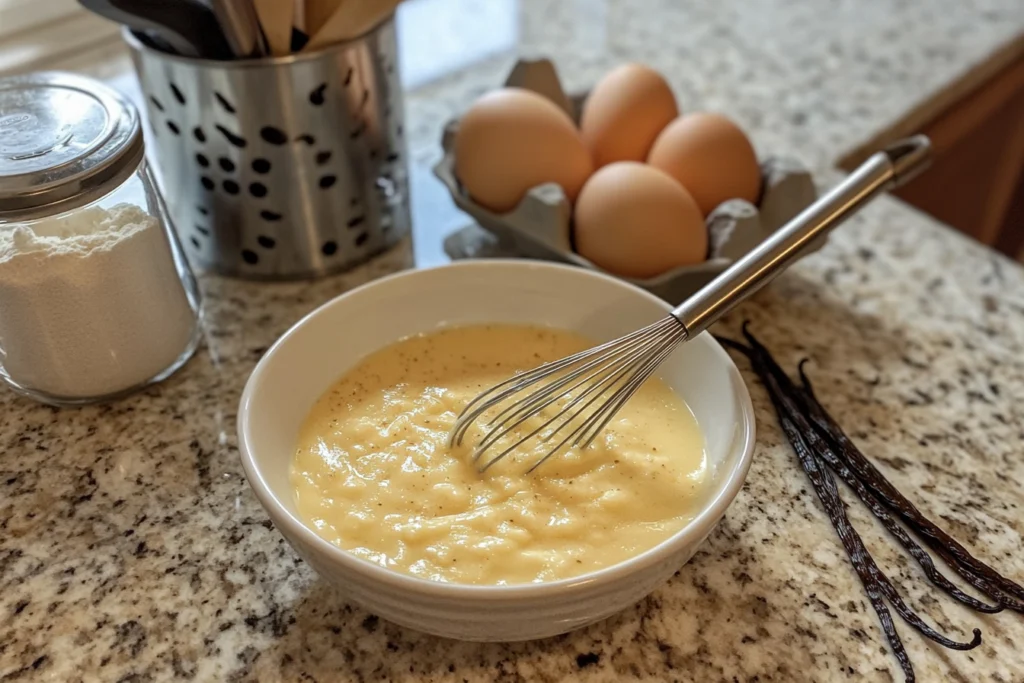
- Heat the Cream: In a saucepan, gently warm heavy cream over medium heat until it just begins to steam. Do not let it boil. If you’re using a vanilla bean, split it lengthwise, scrape out the seeds, and add both seeds and pod to the cream. Let it steep for 5 minutes off the heat to infuse the flavor.
- Whisk the Egg Yolks and Sugar: In a separate bowl, whisk egg yolks and granulated sugar until the mixture is pale and slightly thickened. This step ensures a smooth and luscious custard.
- Temper the Egg Mixture: Slowly pour the warm cream into the egg mixture while whisking constantly. This prevents the eggs from curdling and incorporates the cream seamlessly.
- Strain the Mixture: Pour the custard through a fine-mesh strainer into a clean bowl. This stage guarantees a smooth texture and gets rid of any lumps.

Step 2: Baking the Custard
Once the custard is ready, it’s time to bake it gently for that velvety consistency:
- Prepare the Ramekins: Place your ramekins on a baking tray.
- Fill the Ramekins: Pour the custard into each ramekin, filling them about ¾ full.
- Create a Water Bath: Pour hot water into the tray, ensuring it reaches halfway up the sides of the ramekins. This water bath prevents the custard from cooking too quickly or unevenly.
- Bake: Preheat your oven to 300°F (150°C). Bake the custards for 30–35 minutes or until the edges are set, but the centers still jiggle slightly.
- After taking the ramekins out of the water bath, allow them to cool to room temperature. Then, refrigerate for at least 4 hours (or overnight) to allow the custard to set fully.
Common Mistakes to Avoid
- Overheating the cream: Boiling the cream can alter the texture and flavor.
- Skipping the straining step: Even tiny lumps can ruin the smoothness of the custard.
- Overbaking: Custards that are overcooked will turn grainy rather than creamy.
The Torch Technique
How to Torch Crème Brûlée Safely
Using a culinary torch can feel intimidating at first, but with a few safety tips, you’ll caramelize like a pro:
- Check Your Torch: Ensure your torch is fully fueled and the flame nozzle is clean.
- Work in a Well-Ventilated Area: This prevents smoke from accumulating.
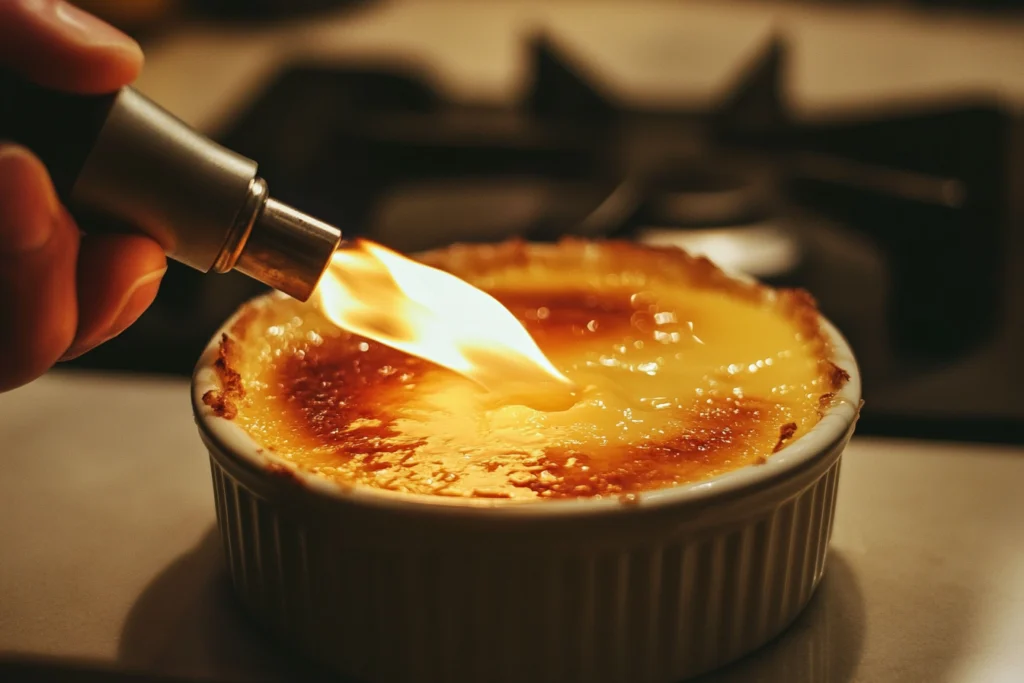
- Keep Distance: Hold the flame about 2–3 inches away from the sugar surface to avoid overheating.
- Mind Your Surroundings: Make sure flammable objects like paper towels or oven mitts are kept far away.
By following these precautions, you’ll ensure both a safe and successful caramelizing experience.
Step-by-Step Torch Instructions
Creating the perfect caramelized sugar top requires precision. Follow these steps to get it just right:
- Prepare the Sugar Layer: Sprinkle a thin, even layer of granulated sugar over each custard. Use about 1–2 teaspoons per ramekin. Tilt the ramekin to ensure the sugar coats the entire surface.
- Light the Torch: Ignite your torch and adjust the flame to medium. A low flame won’t caramelize effectively, while a high flame might burn the sugar.
- Begin Caramelizing: Hold the torch at a slight angle, moving it in small, circular motions. Work your way toward the center from the edges.
- Watch for Color: The sugar will melt, bubble, and eventually turn golden brown. Stop once you achieve an even caramelization with no burnt spots.
- Cool Slightly: Allow the caramel layer to cool for 1–2 minutes to harden before serving.

Tips for Perfect Caramelization
- Choose the Right Sugar: White granulated sugar works best for even melting and caramelization. Brown sugar tends to clump and may not caramelize evenly.
- Adjust Torch Settings: If the sugar browns too quickly, reduce the flame intensity.
- Avoid Overheating: Prolonged torching can result in a burnt, bitter crust.
Presentation and Serving
Styling Your Crème Brûlée
A beautifully presented crème brûlée elevates the dessert experience. Here’s how to style it like a professional:
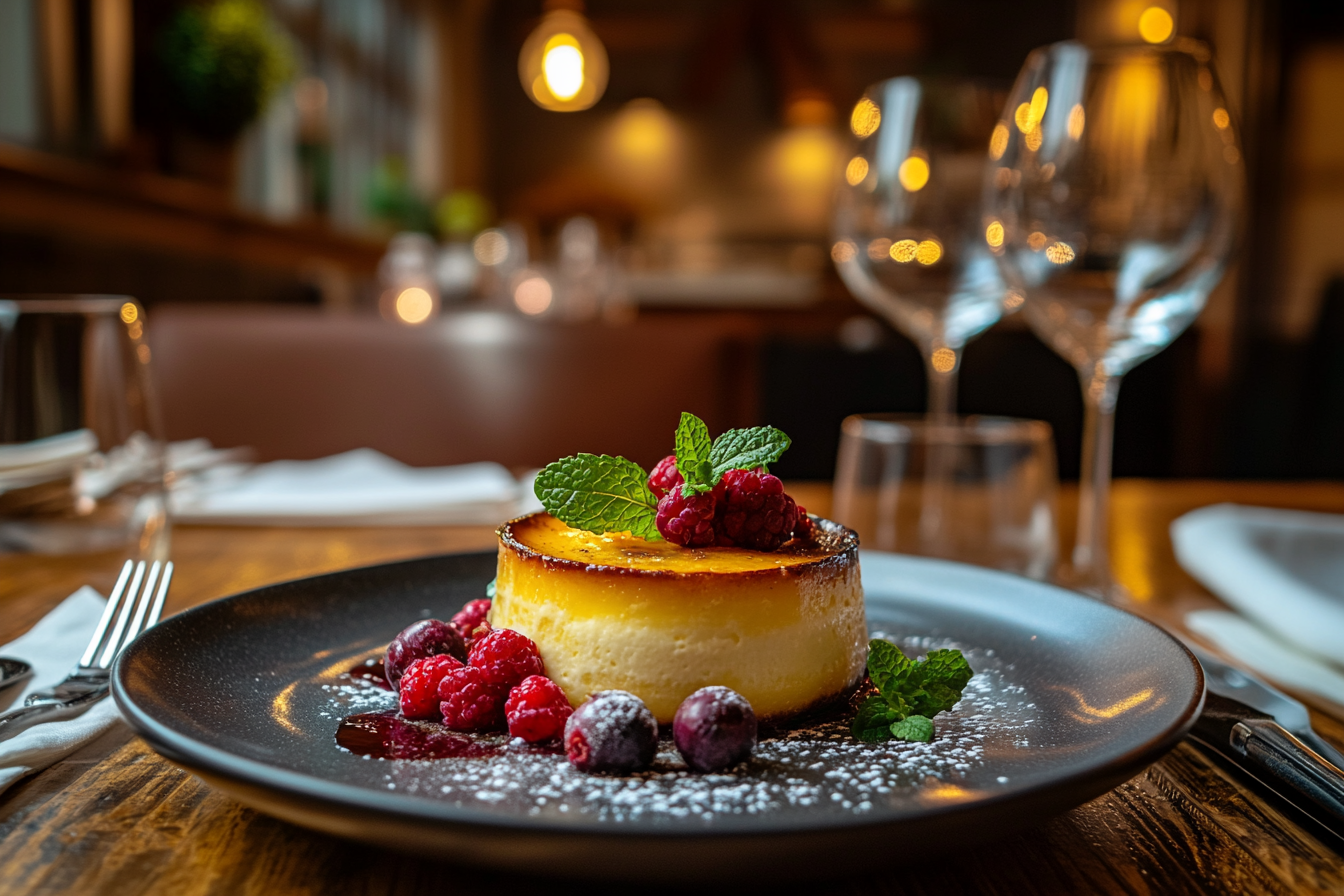
- Garnishes: Add a pop of color with fresh berries like raspberries, blueberries, or strawberries. A small sprig of mint or edible flowers can add a touch of elegance.
- Creative Ramekins: Use decorative ramekins or even unique shapes, such as heart-shaped dishes, for special occasions.
- Plating Ideas: Serve crème brûlée on a small plate with a dusting of powdered sugar or cocoa around the edges for a refined touch.
Best Time to Serve Crème Brûlée
Timing is everything with this dessert. Here’s how to ensure it’s served at its peak:
- Timing the Torch: Always caramelize the sugar just before serving. This keeps the top crisp and prevents the caramel from softening.
- Temperature Tips: Serve crème brûlée slightly chilled but not ice cold. This balance enhances the creamy texture while keeping the caramel crunchy.
- Leftovers: If you have leftovers, store them in the refrigerator for up to two days. However, the caramelized top will lose its crunch over time.
Storing and Reheating Tips
Crème brûlée can be made ahead of time, but there are a few key storage tips to follow:
- Before Caramelizing: Custards can be refrigerated for up to 3 days before torching the sugar. Cover ramekins tightly with plastic wrap.
- After Caramelizing: If you need to store a caramelized crème brûlée, avoid refrigeration as it can soften the sugar topping.
Pro Tip for Special Occasions
To wow your guests, prepare a “crème brûlée bar” where they can choose their toppings and watch you torch their dessert right in front of them.
FAQs on Crème Brûlée
Can you make crème brûlée without a torch?
Yes, it’s possible! You can use a broiler to caramelize the sugar if you don’t have a torch. Place the ramekins on the top rack of the oven and broil on high for 3–5 minutes, keeping a close eye to prevent burning. While it works in a pinch, a torch provides better precision and control.
What type of torch is best for crème brûlée?
A culinary torch designed for kitchen use is the best choice. Butane or propane torches are widely available and easy to use. Look for features like adjustable flame settings and a safety lock for added convenience and control.
Can you make crème brûlée ahead of time?
Absolutely! You can prepare the custard up to three days in advance and store it in the refrigerator. Wait to caramelize the sugar until just before serving to maintain the perfect crispy topping.
What sugar works best for caramelizing?
Granulated white sugar is the gold standard for caramelizing crème brûlée. Its fine texture allows for even melting and browning. Avoid powdered sugar or large-grain sugars, as they won’t caramelize evenly.
How do I fix overcooked custard?
Overcooked custard can turn grainy and lose its creamy texture. Unfortunately, once this happens, it’s difficult to reverse. The best way to avoid overcooking is to bake at a low temperature and remove the ramekins from the oven as soon as the centers have a slight jiggle.
Is crème brûlée gluten-free?
Yes, crème brûlée is naturally gluten-free since it’s made with cream, egg yolks, sugar, and vanilla. However, always double-check any additional flavorings or garnishes to ensure they are gluten-free as well.
Troubleshooting Crème Brûlée
Common Crème Brûlée Problems
Even the most seasoned cooks encounter challenges when making crème brûlée. Here are some common issues and their causes:
- Custard Didn’t Set Properly: This typically happens when the custard isn’t baked long enough. If the center is still too liquid, it needs a few more minutes in the oven.
- Custard is Grainy or Scrambled: Overheating the cream or failing to temper the eggs properly can cause the eggs to cook unevenly, resulting in a grainy texture.
- Uneven or Burnt Caramel: If your sugar layer burns in some areas and remains raw in others, the flame from your torch may be too intense, or you might be holding it too close to the surface.
- Weeping Custard: Excess liquid pooling on the top or edges is a sign that the custard was overcooked or improperly chilled.
Solutions to Common Issues
For every problem, there’s a solution. You can improve your crème brûlée and troubleshoot it with these techniques:
- Custard Didn’t Set: Ensure your oven is preheated to the correct temperature (300°F/150°C). Double-check your water bath, as a dry pan can cause uneven baking.
- Grainy Texture: Be careful not to overheat the cream; it should only be warm, not boiling. When tempering the egg mixture, pour the cream in slowly while whisking continuously.
- Uneven Caramelization: Adjust your torch’s flame to medium and keep it moving in circular motions to distribute heat evenly. Practice patience, as rushing this step can lead to burns.
- Fixing Weeping Custard: Use fresh ingredients and avoid overcooking. Always allow custards to cool at room temperature before refrigerating.
Pro Tip for Perfection Every Time
Take notes during each attempt! Jot down your oven’s quirks, the timing of your torching, and any variations in your ingredients. Over time, these notes will help you refine your technique and achieve consistently flawless results.
Advanced Variations
Flavor Variations for Crème Brûlée
Crème brûlée is wonderfully versatile, and you can infuse a variety of flavors to suit your palate. Here are some creative ideas:
- Chocolate Crème Brûlée: Replace a portion of the cream with melted dark chocolate for a rich, indulgent twist.
- Coffee-Infused Crème Brûlée: Add a tablespoon of instant espresso powder to the cream before heating.
- Citrus Delight: Zest an orange, lemon, or lime into the cream for a refreshing, zesty flavor.
- Seasonal Infusions:
- Pumpkin Spice: Blend pumpkin puree and warm spices like cinnamon and nutmeg into the custard.
- Lavender: Steep dried culinary lavender in the cream for a floral aroma.
- Matcha: Whisk in a teaspoon of matcha powder for a vibrant green hue and earthy taste.
Dietary Variations
For those with dietary restrictions, these variations make crème brûlée accessible without compromising its signature texture:
- Dairy-Free Crème Brûlée: Substitute heavy cream with coconut cream or almond milk. Coconut cream provides the best results, maintaining a creamy consistency.
- Low-Sugar or Keto-Friendly: Use a sugar substitute like erythritol for the custard and a low-carb sweetener for caramelizing.
- Egg-Free Alternative: For a plant-based version, use a custard base made with cornstarch and plant-based milk. While it won’t mimic the exact richness of eggs, it’s a decent alternative.
Pro Tips for Experimenting
- Start small by testing a single ramekin with new flavors before committing to a full batch.
- When using strong flavors like lavender or coffee, infuse the cream lightly to avoid overpowering the custard.
Nutritional Content (Per 100g)
Here’s the nutritional breakdown of traditional crème brûlée:
| Nutrient | Amount (Per 100g) |
|---|---|
| Calories | 250 kcal |
| Protein | 4 g |
| Fat | 20 g |
| Saturated Fat | 12 g |
| Carbohydrates | 15 g |
| Sugar | 14 g |
| Cholesterol | 140 mg |
| Sodium | 35 mg |
Final Thoughts
Mastering Crème Brûlée with a Torch
Crème brûlée is more than just a dessert; it’s an art form that combines simplicity with elegance. By following this guide, you’ve learned how to prepare a custard base, achieve that perfect caramelized sugar layer, and experiment with flavors and dietary adaptations.
With a culinary torch in hand, you can confidently create a restaurant-quality dessert in your own kitchen. The gentle crack of the caramelized top, followed by the creamy custard beneath, is an experience that delights the senses and leaves a lasting impression.
Encouragement to Experiment
Don’t be afraid to make it your own! Whether you stick to the classic vanilla recipe or explore bold new flavors like matcha or citrus, the possibilities are endless. And if your first attempt isn’t perfect, remember that cooking is as much about the process as the result.
So grab your ramekins, fuel up your torch, and get ready to impress friends, family, or even yourself with a dessert that never fails to delight. With practice and a touch of creativity, you’ll soon be a crème brûlée expert!


3 thoughts on “How to Do Crème Brûlée with a Torch: Step-by-Step Guide”