Introduction
Crème brûlée is an iconic French dessert that feels luxurious yet achievable right at home. The creamy custard beneath a crackling caramelized sugar crust is simply divine! What makes this dessert even more fun to prepare is the use of a blowtorch. This guide will take you step-by-step through the process, from the essential ingredients to perfecting the caramelized topping. By the end, you’ll confidently create a dessert that’s restaurant-quality and bound to impress.
Introduction to Crème Brûlée
What is Crème Brûlée?
Crème brûlée, meaning “burnt cream” in French, is a custard-based dessert with a creamy vanilla-infused base topped with a hard layer of caramelized sugar. This classic treat has a rich history, rooted in French culinary traditions. Its unique texture—smooth custard paired with a crispy caramel crust—makes it both indulgent and memorable.
Why Use a Blowtorch?
A blowtorch isn’t just for chefs; it’s a practical tool for achieving the golden-brown sugar crust that makes crème brûlée so special. With precise heat control, you can avoid burning or unevenly caramelizing the sugar. Plus, it’s fast and easy to use, making it ideal for creating a perfect finish. While alternatives exist, a blowtorch offers a consistency that’s hard to beat.
Overview of the Recipe
The process begins with crafting a smooth custard made from basic pantry staples: eggs, cream, sugar, and vanilla. The custard is gently baked, cooled, and topped with sugar before the fun part—using a blowtorch to caramelize it. With a little practice and patience, this dessert can be a show-stopping centerpiece for any meal.
Caramelizing the Sugar
The moment of truth has arrived! Caramelizing the sugar transforms the crème brûlée into the elegant dessert we all love. This step is where your blowtorch becomes essential, helping you achieve the perfect golden crust. Let’s dive in.
How to Sprinkle Sugar Evenly
A smooth caramelized topping starts with an even layer of sugar:
- Choose the Right Sugar: Granulated sugar works best for its consistency and ability to melt evenly. Avoid powdered or brown sugar, which can burn too quickly.
- Dry the Custard Tops: Use a paper towel to gently blot any moisture on the surface of the custards. A dry surface helps the sugar adhere better.
- Sprinkle with Care: Hold a small spoonful of sugar and sprinkle it evenly across the top of each custard. Aim for a thin, uniform layer that completely covers the surface without piling up.
- Tap to Spread: Tilt the ramekin gently to distribute the sugar across any bare spots.
Proper Blowtorch Techniques for Best Results
Using a blowtorch can feel intimidating, but with the right technique, it’s simple and fun!
- Position the Torch: Hold the torch 2–3 inches away from the custard to avoid scorching the sugar. Start at one edge of the ramekin.
- Move in Circular Motions: Slowly sweep the flame across the sugar in a circular motion. Keep the flame moving to avoid burning one area.
- Look for the Sweet Spot: As the sugar melts, it will bubble and turn golden. Stop when the sugar is fully caramelized and the surface is crisp but not burnt.
Pro Tip: If you’re new to blowtorching, practice on a piece of sugared foil or an extra ramekin before tackling the actual dessert.
How to Achieve the Perfect Caramelized Crust
A successful caramelized crust is thin, crisp, and adds a delightful contrast to the creamy custard beneath.
- Don’t Overload the Sugar: Too much sugar creates a thick crust that’s difficult to crack and may taste burnt.
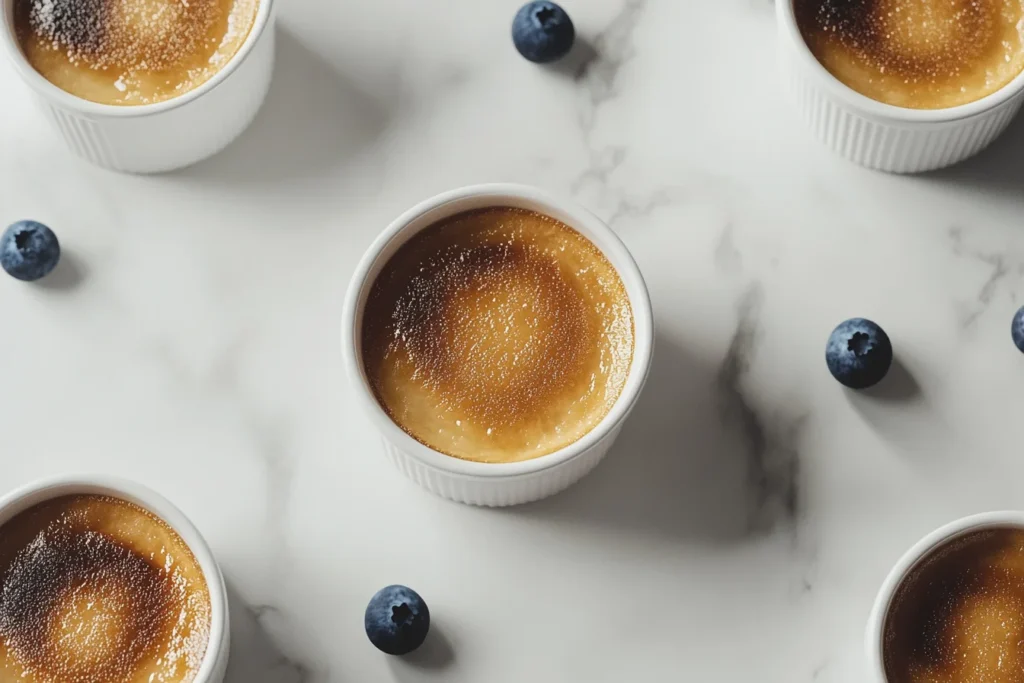
- Watch for Color Changes: The ideal color is golden brown with a slight sheen. Dark brown spots indicate over-caramelization.
- Let it Cool Briefly: After torching, allow the ramekins to sit for a minute so the sugar hardens into a glass-like crust.
Serving Crème Brûlée
After all your hard work, it’s time to enjoy the fruits of your labor! Serving crème brûlée isn’t just about presentation—it’s also about enhancing the experience with thoughtful touches that elevate its elegance and flavor.
Presentation Tips
The way you serve crème brûlée can make it even more impressive for your guests:
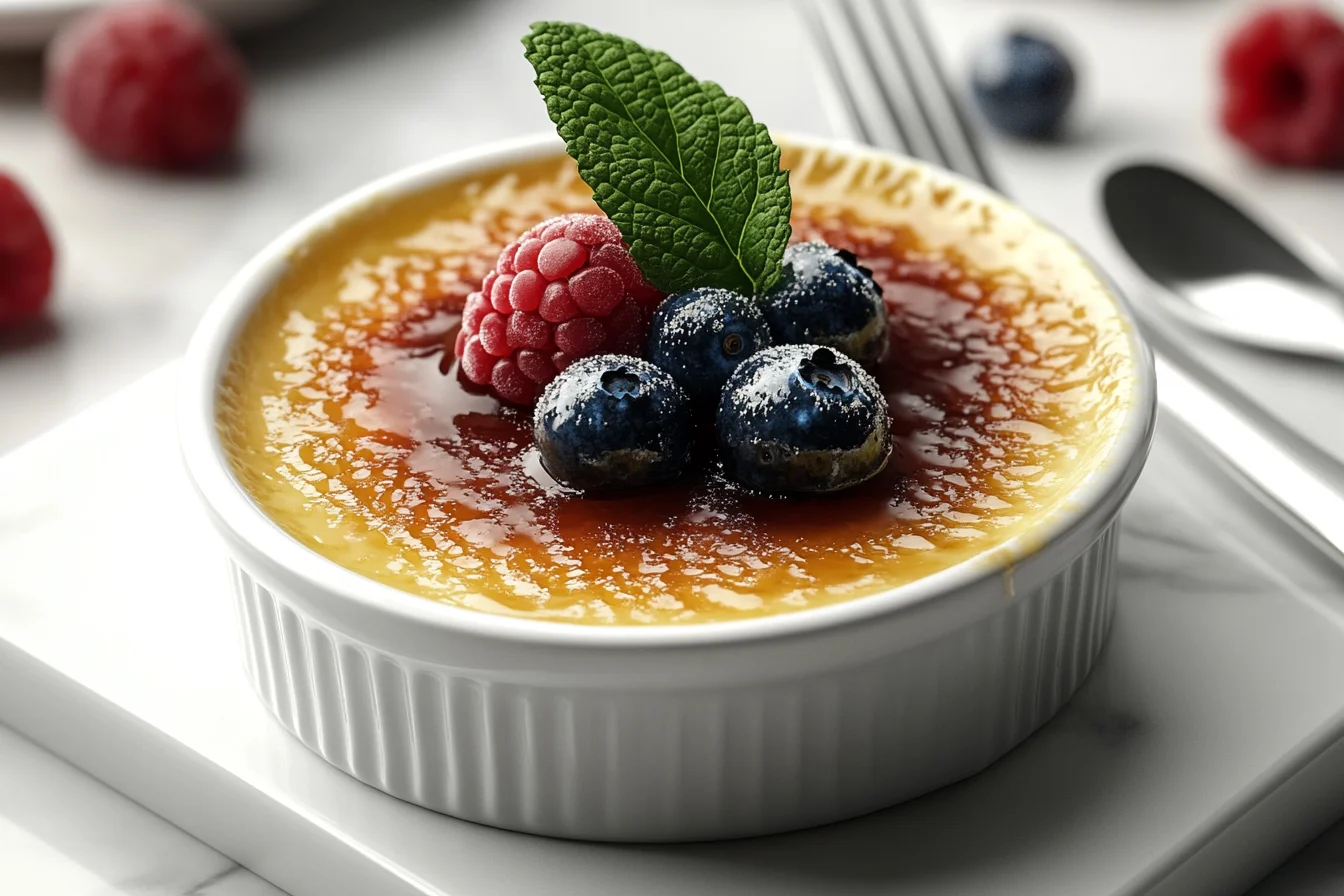
- Keep It Simple: The dessert itself is the star. Serve it in classic white ramekins to let the golden caramel crust shine.
- Add a Garnish: A small sprig of mint, a dusting of powdered sugar, or a few fresh berries (like raspberries or blueberries) can add a pop of color and a touch of freshness.
- Serve Individual Portions: Placing each ramekin on a small dessert plate with a dessert spoon keeps the presentation clean and polished.
Flavor Pairing Suggestions
Enhance the taste of your crème brûlée with complementary flavors:

- Fruits: Pair with fresh fruit such as strawberries or a medley of citrus slices. The tanginess contrasts beautifully with the creamy custard.
- Chocolate: A piece of dark chocolate served alongside adds richness and a touch of indulgence.
- Coffee or Tea: A hot cup of espresso or herbal tea balances the sweetness of the dessert.
Cracking the Crust
Part of the joy of eating crème brûlée is the satisfying crack of the caramelized sugar. Gently tap the crust with the back of your spoon to break through to the creamy custard beneath. It’s a small moment of delight that adds to the overall experience.
Troubleshooting Common Issues
Even seasoned chefs encounter hiccups when making crème brûlée. Whether it’s a custard that won’t set or a caramelized top that’s uneven, these tips will help you resolve common problems like a pro.
Custard Not Setting Properly
A runny custard can be frustrating, but there are ways to fix or prevent it:
- Double-Check Baking Time: Underbaking is the most common culprit. If the custard jiggles excessively, bake for an additional 5–10 minutes.
- Use a Thermometer: The internal temperature of the custard should reach 170–175°F (77–80°C). This ensures the eggs have thickened properly.
- Avoid Overheating the Cream: Scorching the cream during preparation can prevent the custard from setting evenly.
Burnt or Uneven Caramelized Tops
Achieving a perfect caramelized crust requires precision and patience:
- Keep the Torch Moving: Holding the torch in one spot for too long can burn the sugar. Sweep the flame in smooth, circular motions.
- Check Sugar Thickness: Too much sugar takes longer to melt, increasing the risk of burning. Use a thin, even layer.
- Consider a Test Batch: If you’re new to blowtorching, practice on one ramekin before finishing the entire batch.
Preventing Sugar Clumps
Clumpy sugar on top can lead to uneven caramelization and a lackluster crust.
- Sift the Sugar: Run the sugar through a fine-mesh sieve before sprinkling it on the custard to eliminate lumps.
- Dry Custard Surfaces: Any moisture on the custard can cause the sugar to clump. Use a paper towel to blot before sprinkling.
- Patience After Torching: Let the crust cool briefly after caramelizing—it will harden and smooth out any inconsistencies.
Cracked Custard
Cracks in the custard are usually caused by overbaking or improper cooling:
- Monitor Baking Time Closely: The custard should have a slight jiggle in the center when removed from the oven.
- Cool Gradually: Sudden temperature changes can cause cracking. Allow the ramekins to cool at room temperature before refrigerating.
- Use a Bain-Marie: The water bath maintains an even temperature and prevents the edges from overheating.
Frequently Asked Questions About Crème Brûlée
Can I make crème brûlée without a blowtorch?
Absolutely! While a blowtorch is ideal for achieving the perfect caramelized crust, alternatives like an oven broiler or a heated metal spoon can work. When using a broiler, keep the ramekins on the top rack and watch closely to prevent burning.
What type of sugar is best for caramelizing?
Granulated sugar is the go-to option for caramelizing crème brûlée. Its consistency allows for an even melt and forms a crisp, crackable crust. Avoid powdered or brown sugar, as they tend to clump or burn too quickly.
Can I prepare crème brûlée ahead of time?
Yes! You can prepare the custards up to two days in advance. Refrigerate them after baking and cooling, but caramelize the sugar just before serving to ensure a fresh, crisp crust.
Why did my custard crack?
Cracked custard often happens due to overbaking or rapid cooling. To avoid this, use a bain-marie during baking and allow the ramekins to cool slowly at room temperature before placing them in the fridge.
How do I clean a blowtorch?
Cleaning a blowtorch is simple. After use, ensure the flame is off and the torch is cool. Wipe down the exterior with a damp cloth and check the nozzle for any sugar residue. Avoid submerging it in water.
Can I use a regular lighter instead of a blowtorch?
Using a lighter is not recommended. The flame is too small to evenly caramelize the sugar, and the heat may be inconsistent. A blowtorch or broiler is a much better option for even caramelization.
Conclusion
Making crème brûlée with a blowtorch is not only an enjoyable experience but also a rewarding culinary achievement. By following this step-by-step guide, you’ve learned how to create a dessert that combines creamy custard with a satisfying caramelized crust. From selecting the right ingredients to perfecting your blowtorch technique, each stage plays a vital role in ensuring a flawless result.
With practice, your confidence will grow, and you’ll be ready to experiment with flavors or even serve your creations at special gatherings. Remember, the magic of crème brûlée lies in its simplicity and elegance. A little care, patience, and attention to detail can transform a few basic ingredients into a restaurant-worthy masterpiece.
So, grab your blowtorch, gather your ramekins, and get ready to impress your friends and family with this iconic dessert. Whether it’s a holiday celebration or a quiet night in, crème brûlée is sure to leave everyone craving more. Enjoy the crack of that golden crust—it’s a testament to your culinary skill and creativity!


4 thoughts on “How to Make Crème Brûlée with a Blowtorch: 5 Steps to Perfect Caramelized Desserts”