Introduction
If you’ve ever tried melting chocolate only to find it refuses to harden afterward, you’re not alone. It’s a common issue for both amateur bakers and seasoned chocolatiers. Understanding the science behind chocolate and troubleshooting hardening problems can make all the difference in achieving that perfect glossy, firm finish. In this article, we’ll dive deep into why your melted chocolate might not harden, uncover the causes, and equip you with effective fixes and preventative techniques. Let’s get started with the basics!
Understanding the Basics of Chocolate and Its Properties
Why Is My Melted Chocolate Not Hardening?
Chocolate is a temperamental ingredient. While it melts easily under the right conditions, it often surprises us when it comes time to harden. The key lies in its complex structure. Made of cocoa solids, cocoa butter, sugar, and sometimes milk solids, chocolate’s behavior is heavily influenced by how you handle its temperature and environment. When melted chocolate fails to harden, it’s often due to improper handling or external factors, such as humidity or impurities.
What Happens When Chocolate Melts?
The Composition of Chocolate
Chocolate’s unique properties come from its primary ingredient, cocoa butter. This fat gives it a smooth texture and the ability to solidify into a glossy finish. When chocolate melts, its crystals break apart, turning it into a silky liquid. This liquid, however, must be carefully tempered to ensure those crystals re-form properly when it cools.
How Melting Alters Its Structure
When chocolate is heated, the crystal bonds in cocoa butter dissolve. If this process isn’t managed correctly, the melted chocolate may not re-harden properly, leaving it sticky or uneven. For chocolate to harden, it needs to form a stable crystalline structure – and that’s where techniques like tempering come into play.
The Science Behind Hardening Chocolate
The Role of Cocoa Butter
The type of crystals formed in chocolate is critical to its ability to harden. Cocoa butter contains several forms of fat crystals, but only one – beta crystals – leads to the shiny, firm finish we all expect from properly hardened chocolate.
Importance of Proper Cooling
Temperature plays a pivotal role in ensuring your melted chocolate transitions back into a solid state. Cooling chocolate too quickly or in a humid environment can lead to issues like bloom, where white streaks or spots form on the surface. This is a sign of unstable fat crystals.
Common Reasons Melted Chocolate Does Not Harden
Incorrect Tempering
What Is Tempering?
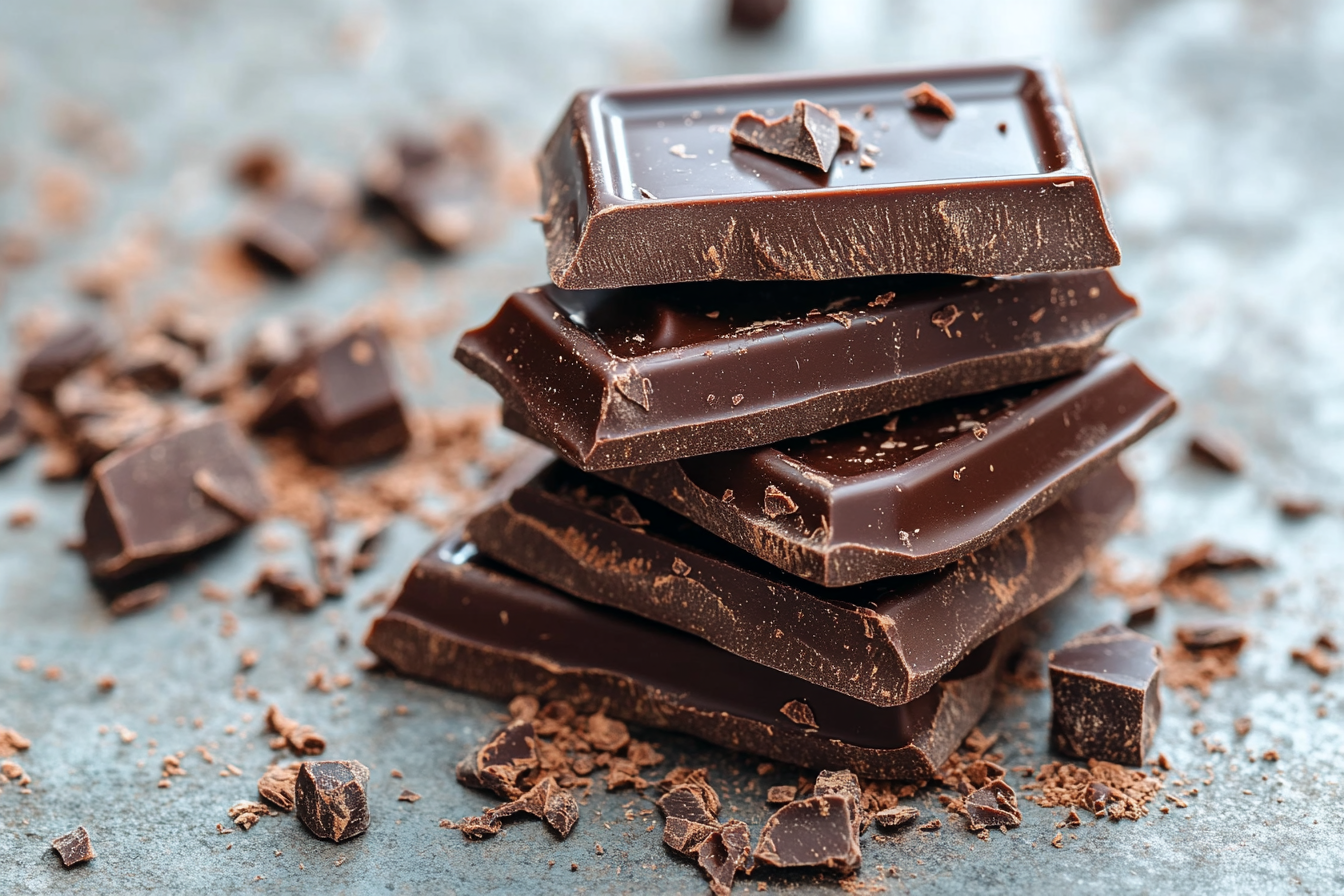
Tempering is the process of heating and cooling chocolate in a precise manner to stabilize its fat crystals. This step ensures the chocolate hardens with a shiny, firm finish that has that satisfying snap when broken. Without tempering, melted chocolate cools inconsistently, often leading to a dull, sticky texture.
Effects of Poor Tempering
Skipping or improperly performing the tempering process is one of the main reasons chocolate won’t harden. Chocolate that hasn’t been tempered will form unstable crystals, resulting in a grainy texture or streaks across its surface. Moreover, improperly tempered chocolate may remain soft, even after cooling.
High Humidity or Environmental Factors
How Humidity Impacts Chocolate
Humidity is kryptonite for chocolate. When moisture comes into contact with melted chocolate, it can cause seizing – a condition where the smooth liquid clumps into a grainy paste. Even small amounts of humidity can interfere with chocolate’s ability to harden.
Preventing Moisture Interference
To avoid problems caused by humidity, always melt chocolate in a dry environment. Use clean, moisture-free utensils and ensure there’s no condensation around your cooking space. If possible, work in an air-conditioned room to keep the air dry. If humidity persists, consider investing in a dehumidifier for your workspace.
Impurities in Chocolate
Effects of Mixing Liquids
Adding liquid ingredients, such as water or milk, directly to melted chocolate can disrupt its crystalline structure. Even a small splash of water can cause the cocoa solids and fat to separate, making it impossible for the chocolate to harden correctly.
Contamination with Other Ingredients
Contamination can occur if you introduce foreign materials or residues (such as oils or spices) into the chocolate. Always ensure your chocolate is pure and your tools are clean before melting.
Incorrect Cooling Techniques
Cooling Too Quickly or Too Slowly
Rapid cooling, such as placing chocolate directly into a freezer, can cause it to harden unevenly. On the flip side, cooling too slowly at room temperature might allow unstable crystals to form, leaving the chocolate sticky or streaked.
Ideal Cooling Conditions
For best results, allow your tempered chocolate to cool in a room that’s between 60°F and 70°F (15°C to 21°C). Use parchment paper or silicone mats to ensure the chocolate cools evenly and without sticking.

How to Fix and Prevent Chocolate Hardening Issues
How to Properly Temper Chocolate
Tools Needed for Tempering
Tempering requires just a few essential tools, but each one is crucial for success:
- Double boiler or microwave for gentle heating.
- Candy thermometer for accurate temperature measurement.
- Silicone spatula to stir evenly.
- Marble slab (optional) for the tabling method.
Step-by-Step Guide to Tempering
- Chop your chocolate finely. This helps it melt evenly.
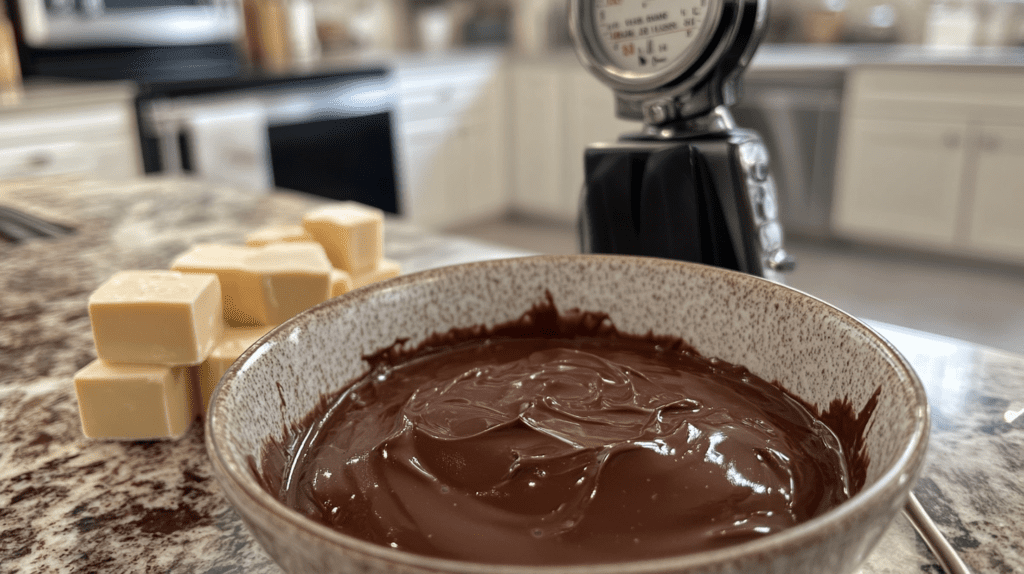
- Melt two-thirds of the chocolate. Use a double boiler or microwave to gently heat it to about 115°F (46°C) for dark chocolate or 110°F (43°C) for milk or white chocolate.
- Cool the chocolate. Add the remaining one-third of the unmelted chocolate and stir until the mixture cools to 80°F (27°C). This encourages stable beta crystal formation.
- Reheat slightly. Warm the chocolate to 88°F–90°F (31°C–32°C) for dark chocolate or slightly lower for milk or white varieties.
- Test the temper. Dip a spoon into the chocolate and let it sit for a few minutes. If it hardens with a shiny finish, it’s ready!
Controlling Your Environment
Ideal Temperature and Humidity Levels
The optimal room temperature for working with chocolate is between 60°F and 70°F (15°C–21°C). Keep the humidity below 50% to prevent moisture from interfering with the process. Using air conditioning or a dehumidifier can make a huge difference, especially in warm climates.
Setting Up a Chocolate-Friendly Workspace
- Keep all utensils dry and at room temperature.
- Avoid working near water sources like sinks or boiling pots.
- Clean your surfaces thoroughly to ensure no residues or oils mix with your chocolate.
Tips for Proper Cooling
Using a Refrigerator or Freezer Safely
While it’s tempting to rush the cooling process, avoid placing chocolate directly into a freezer. Instead, use the refrigerator for short bursts of cooling, no longer than 5–10 minutes. Ensure the chocolate is covered or sealed to prevent condensation from forming on its surface.
Cooling on Room-Temperature Surfaces
Place tempered chocolate on a parchment-lined baking sheet or silicone mat. Avoid metal surfaces, which can create uneven cooling due to rapid temperature changes. Let the chocolate cool naturally in a controlled environment.
Frequently Asked Questions
Why does my chocolate stay sticky?
Sticky chocolate is often a result of high humidity or improper tempering. When moisture mixes with melted chocolate, it alters the consistency, leaving it tacky instead of firm. To avoid this, always work in a dry environment and ensure your chocolate is properly tempered.
Can I fix already melted chocolate that won’t harden?
Yes, you can often rescue soft chocolate! Reheat the chocolate gently to temper it again, ensuring it reaches the right temperatures (as described in the tempering guide). Cooling it correctly afterward will help it harden properly.
What type of chocolate is best for melting and hardening?
Couverture chocolate is ideal for this purpose. Its higher cocoa butter content allows for smoother melting and better hardening. Avoid compound chocolate if you’re looking for a glossy, firm finish, as it contains vegetable fats instead of cocoa butter.
Why does chocolate harden unevenly?
Uneven hardening occurs when chocolate cools too quickly or on an uneven surface. Placing chocolate in the freezer without allowing it to cool slightly beforehand can also cause streaks or patches. Use a room-temperature, flat surface for more consistent results.
Does adding butter or oil affect hardening?
Yes, adding fats like butter or oil can prevent chocolate from hardening completely. These fats disrupt the cocoa butter’s crystalline structure, leaving the chocolate soft or greasy. Stick to pure chocolate or use only minimal additions for flavor.
Can I use a microwave to temper chocolate?
Absolutely! Tempering in the microwave requires careful monitoring. Heat the chocolate in short bursts of 15–30 seconds, stirring after each interval. Ensure you don’t overheat, as this can ruin the temper and make the chocolate difficult to harden.
Enhancing Your Chocolate Skills
Choosing the Right Chocolate for Melting and Hardening
Types of Chocolate and Their Properties
Not all chocolate behaves the same when melted or hardened. Here’s a quick breakdown of common types:
- Dark Chocolate: Contains a high percentage of cocoa solids and cocoa butter, making it ideal for tempering and hardening.
- Milk Chocolate: Softer and sweeter due to its higher sugar and milk content. It hardens well but requires careful tempering.
- White Chocolate: Technically not chocolate, as it contains no cocoa solids, but the cocoa butter allows it to harden if tempered correctly.
- Couverture Chocolate: A premium choice for professional chocolatiers, thanks to its high cocoa butter content, which ensures a smooth melt and glossy finish.
How to Identify High-Quality Chocolate
- Look for chocolate that contains real cocoa butter, not vegetable fats.
- Avoid chocolate labeled as “chocolate-flavored,” as it often lacks the properties needed for hardening.
- Read the ingredients and ensure there are no additives or excessive fillers.
Advanced Tips for Working with Chocolate
How to Work with Chocolate Molds
Using molds is a great way to create uniform shapes and designs:
- Clean and Dry the Molds: Any residue or moisture can cause imperfections.
- Pour Tempered Chocolate: Fill the molds carefully, tapping them to remove air bubbles.
- Remove Excess Chocolate: Scrape the surface of the molds with a spatula for a smooth finish.
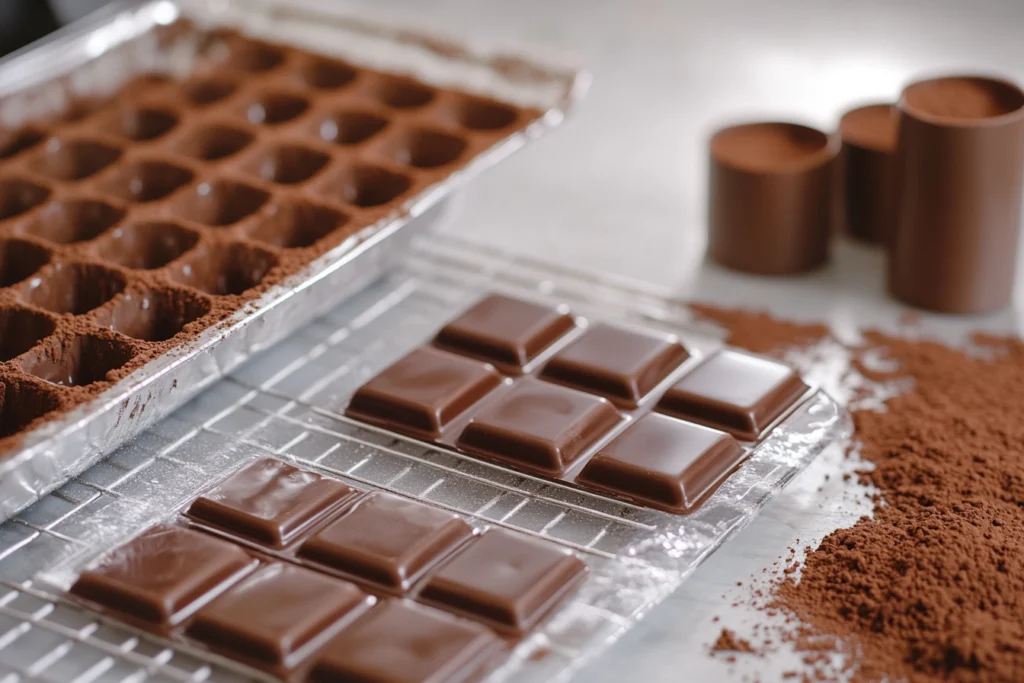
- Cool and Set: Place the molds in a cool, dry area or refrigerator to set. Once hardened, gently release the chocolate by twisting the molds.
Decorating with Hardened Chocolate
Hardened chocolate can be used to make impressive decorations, such as curls, shards, or intricate patterns. Use a peeler to create curls from a solid block of chocolate or a knife to break hardened chocolate into decorative shards. For intricate patterns, pipe melted chocolate onto parchment paper and let it set.
Recipe: How to Temper Chocolate and Make Chocolate Bars

Ingredients:
- 500g high-quality dark chocolate (70% cocoa solids recommended)
- Optional toppings: nuts, dried fruits, or sprinkles
Instructions:
- Prepare Your Workspace:
Ensure all tools are clean and dry. Line a baking tray or mold with parchment paper. - Chop the Chocolate:
Finely chop the chocolate into small, even pieces. - Melt Two-Thirds of the Chocolate:
Use a double boiler to melt the chocolate slowly, stirring frequently. Heat to 115°F (46°C) for dark chocolate. - Cool with the Remaining Chocolate:
Remove from heat and stir in the remaining one-third of the chopped chocolate. Stir continuously until the temperature drops to 80°F (27°C). - Reheat Gently:
Return the chocolate to the double boiler briefly to raise the temperature to 88°F–90°F (31°C–32°C). - Pour and Set:
Pour the tempered chocolate into molds or onto the prepared baking tray. Spread evenly and add optional toppings if desired. - Cool to Harden:
Allow the chocolate to cool in a dry, cool place or a refrigerator. Once fully hardened, remove from molds or cut into bars.
Nutritional Content (per 100g)
| Nutrient | Amount |
|---|---|
| Calories | 546 kcal |
| Fat | 31g |
| Carbohydrates | 61g |
| Sugar | 48g |
| Protein | 4g |
In the next section, we’ll summarize the key takeaways and explore further ways to elevate your chocolate creations.
Taking Your Chocolate Creations to the Next Level
Mastering Chocolate Decorations and Techniques
Creating Chocolate Garnishes
Hardened chocolate can be transformed into elegant garnishes that elevate desserts. Here’s how:
- Chocolate Curls: Run a vegetable peeler along the edge of a hardened chocolate block for delicate curls.
- Chocolate Shards: Spread a thin layer of tempered chocolate on parchment paper. Once set, break it into uneven shards for a rustic look.
- Chocolate Lace Patterns: Pipe melted chocolate onto a chilled metal sheet in intricate patterns. Let it harden for a stunning, edible decoration.
Using Hardened Chocolate for Layered Desserts
Hardened chocolate layers add crunch and visual appeal to desserts like mousses and cakes. Pour tempered chocolate into thin sheets, let it cool, and use it as a base or middle layer in your creations.
Troubleshooting Advanced Chocolate Techniques
Dealing with Chocolate Bloom
Bloom appears as a whitish coating on hardened chocolate and can occur due to improper tempering or storage. To fix:
- For Fat Bloom: Re-temper the chocolate to stabilize the cocoa butter.
- For Sugar Bloom: Store chocolate in a dry environment, as this type of bloom results from moisture exposure.
Preventing Sticking in Chocolate Molds
If chocolate sticks to molds, it’s likely due to insufficient cooling or unclean molds. Ensure your molds are completely dry and cool your chocolate thoroughly before unmolding.
Experimenting with Flavors and Textures
Adding unique flavors and textures can take your chocolate creations to new heights. Try mixing spices like cinnamon or chili powder, or incorporate crunchy elements such as puffed rice or crushed cookies.
Expert Tips and Additional Resources
Expert Tips for Perfectly Hardened Chocolate
- Practice Makes Perfect: Tempering is an art. The more you practice, the more intuitive it becomes. Start with small batches to reduce waste.
- Invest in Quality Tools: A reliable candy thermometer and high-quality chocolate make a world of difference.
- Avoid Overheating: Chocolate is sensitive to heat. Always melt it gently and monitor temperatures closely to prevent burning.
- Store Chocolate Correctly: To preserve the texture and flavor, store chocolate in a cool, dry place, away from direct sunlight and strong odors.

